 |
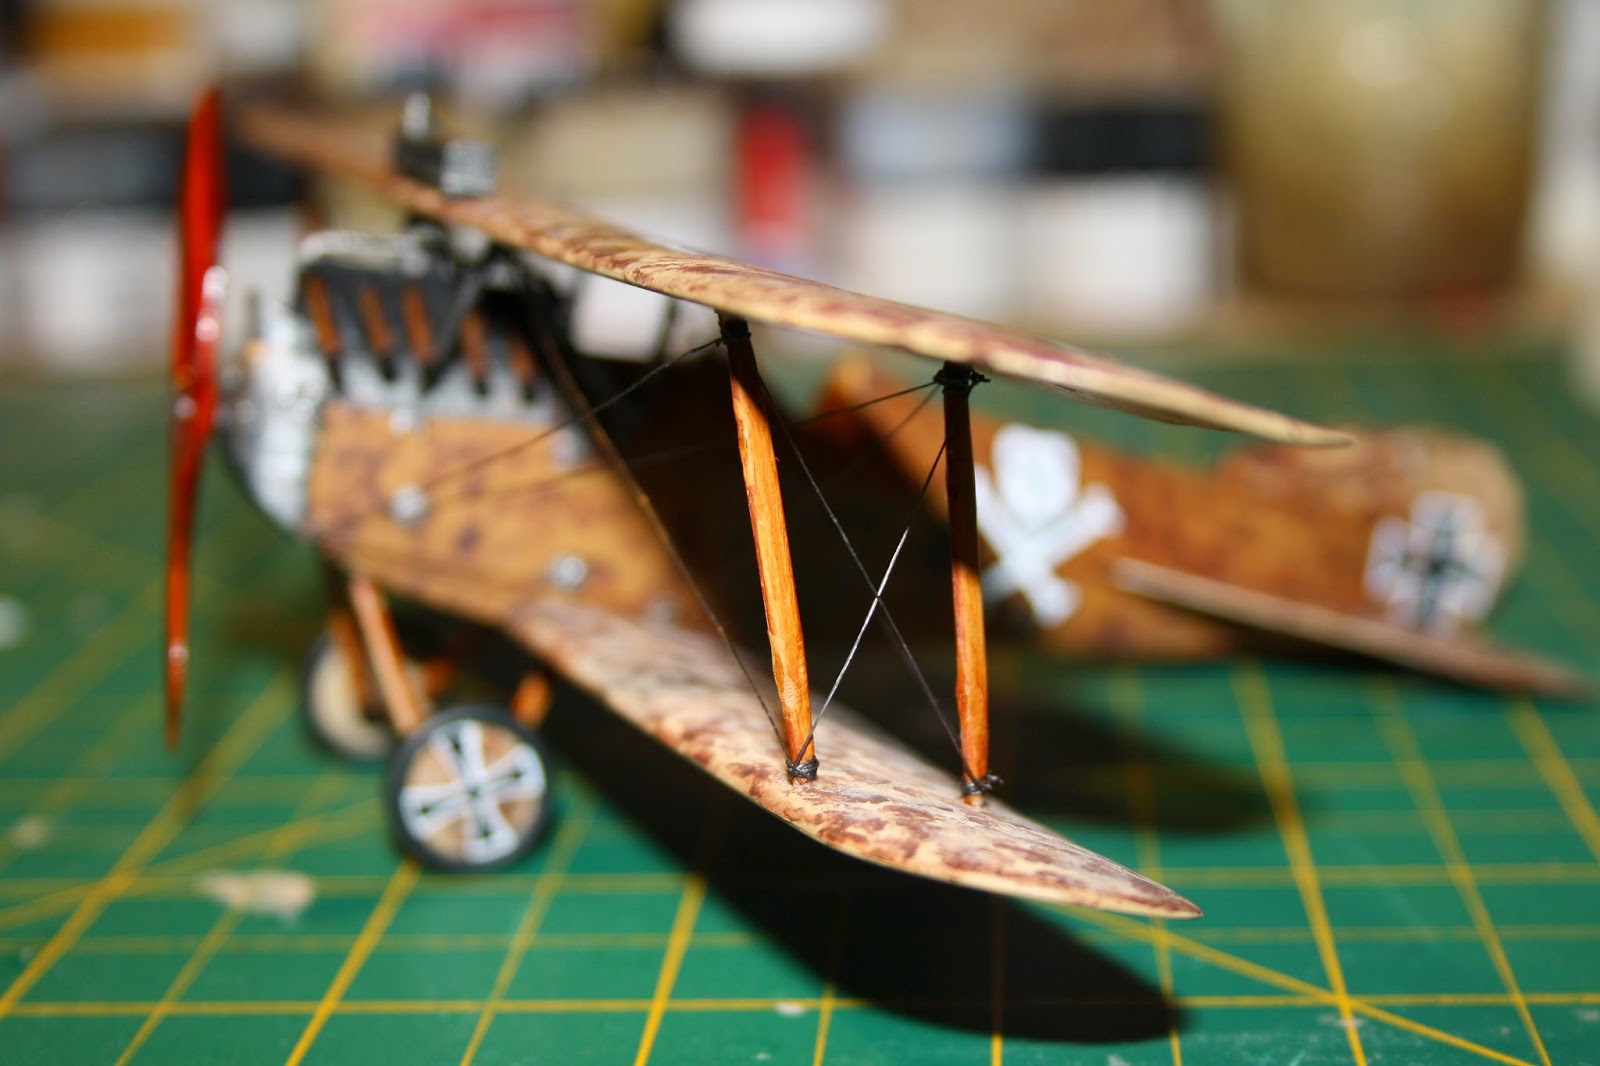
| Left the shutter open and got a blur effect like you see in many Great War photos. |
Sunday, 23 November 2014
The Phönix D.1 Flies Again.
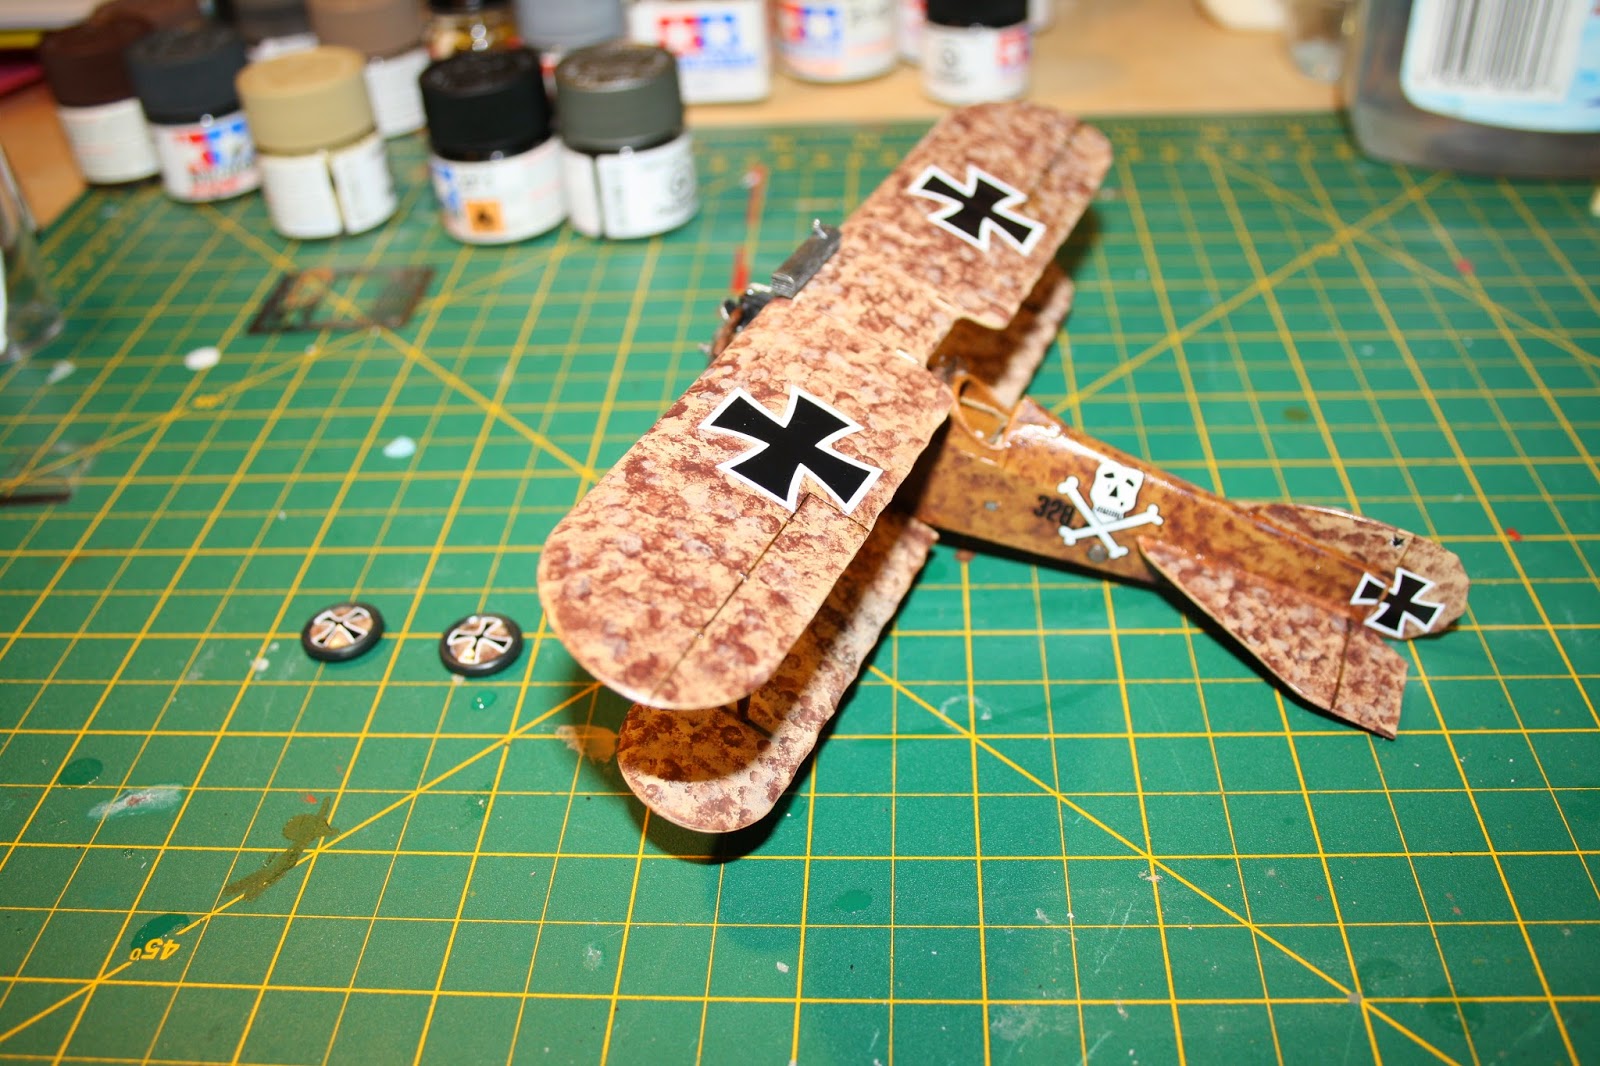
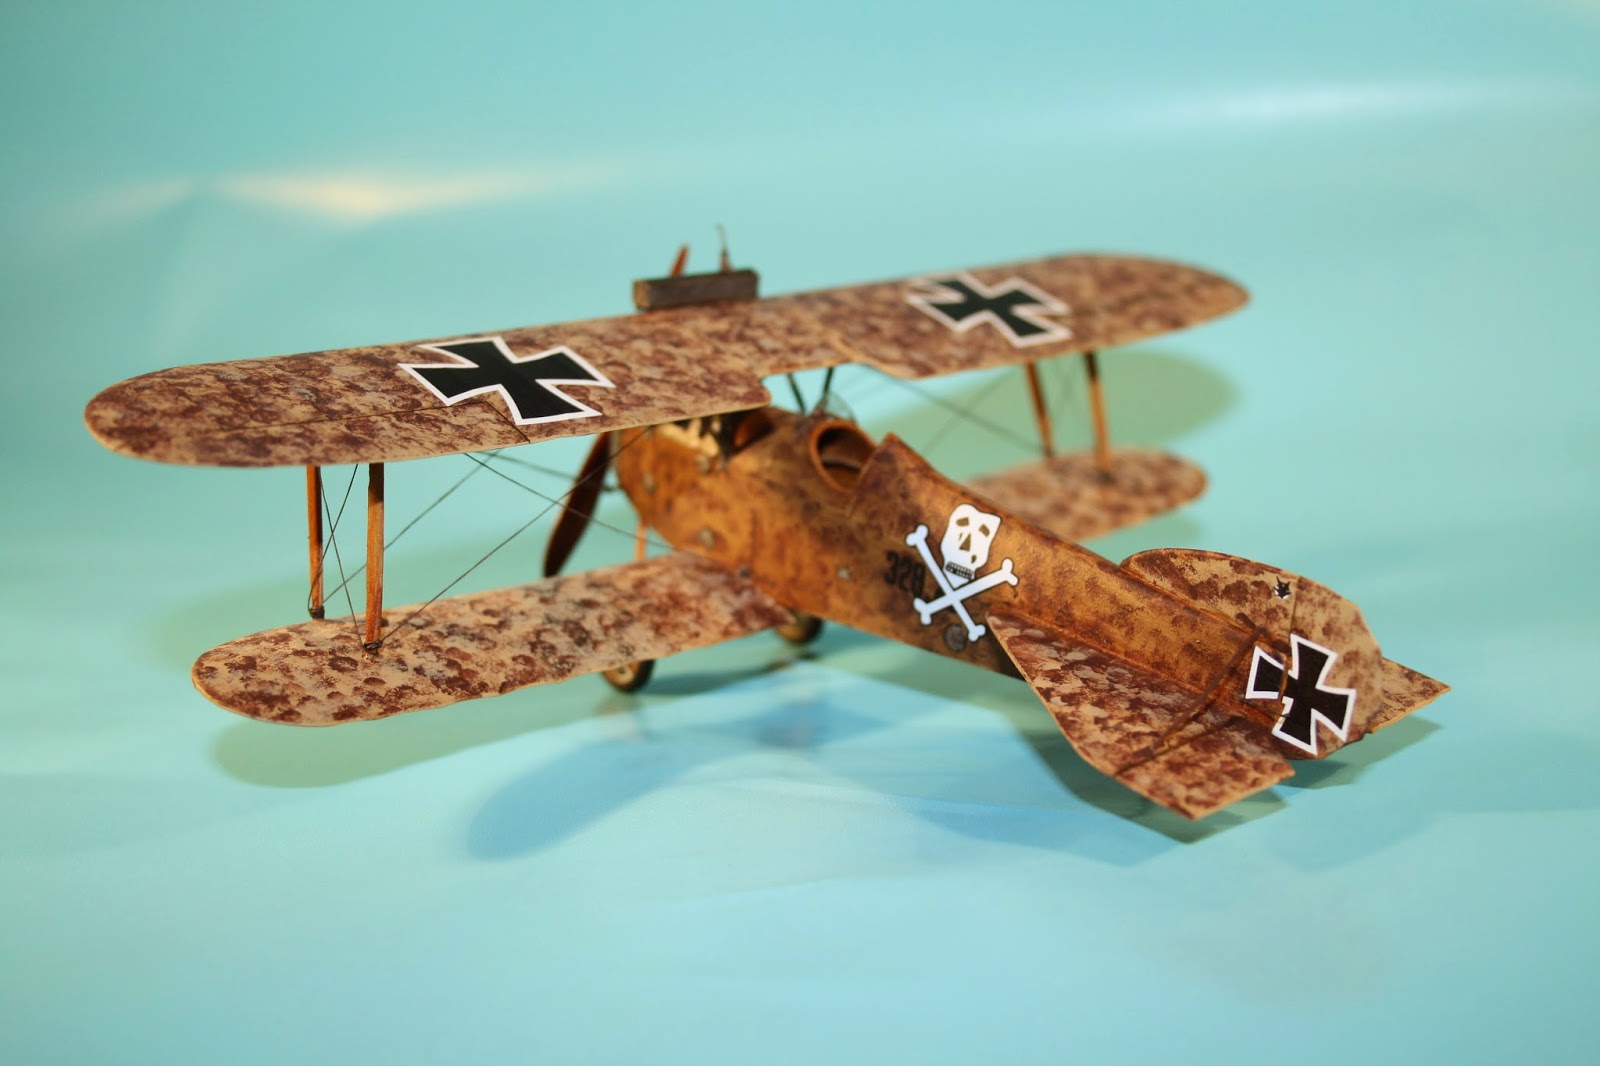
Okay well maybe not flying, but the model is complete. Just added the fiddly bits (PE) this afternoon.
Saturday, 22 November 2014
Dull Coat
Now that the decals are on it is time to seal the model with a coating of Spray Matte Clear Coat. I use a spray can from a local art store for this. Much less expensive than the hobby brands and does the same thing with low odour and super quick drying time.
Thursday, 20 November 2014
Rigging Done and Prop On
On my own tonight so decided to get as much done as I could. Put in 4 hours. Rigging takes a while.
 |
| My rigging choice. Smoke coloured FireLine from Canadian Tire. |
 |
| The time spent making the turnbuckles paid off in spades during the rigging process. |
 |
| I just love the combination of rigging wire, rusty exhaust pipes, engines, wooden props and beaten metal on World War 1 aircraft. |
 |
| I tried to keep the rigging tidy. |
 |
| It is quite difficult to get the right tension and keep it. I might try the EasyLine product on my next WW1 aircraft build. |
 |
| I have to say this shot almost looks like the real thing. |
 |
| Speaking of the real thing here it is. |
 |
| I just have to add some PR struts to the rear stabilizer and control wires to the rudder and the model will be complete. |
Wednesday, 19 November 2014
Models always look better when you put the Decals On
 |
| The decals are quite good and conform well to all the surfaces including the wheel wells. |
 |
| The only tricky decals was the ones on the vertical stabilizer and vertical rudder. I have to cut the decal to match the application on the real aircraft. |
 |
| Love this version of the skull and cross bones. |
Tuesday, 18 November 2014
Getting Ready for Decals
Just did a coat of Future. Of course I knocked the flimsy landing gear off while I was doing the coat of future so I will have to add those again later...GRRRRRRR.
 |
| The model with a coat of future on the upper surfaces under my dust dome. You really have to try and keep the dust away from the model while the future is drying. |
Monday, 17 November 2014
Masks and Wheels
I wanted to try a technique from FSM on the wheels of this aircraft. So I used aluminum foil tape to make masks for the wheels.
 |
| From what I have read tires in World War 1 were rarely black and tended toward dark grays or even light gray. I chose to use Tamiya Nato Black for these tires. |
Sunday, 16 November 2014
Landing Gear Struts, Tail Skid, and Bottom Work
Managed to get some more work done after watching The Walking Dead. Put on some more anchoring points for the rigging. Then I put on the tail skid and landing gear struts. One thing that I do not like about this otherwise cool good model is the lack of positive contact between parts. I had to drill out the tail skid hole and this resulted in a crack appearing where I had carefully sealed the fuselage.
 |
| A dab of crazy glue was placed in each hole and then the struts were mounted. |
 |
| Jut have to do some touch ups, rigging, and decals and it will be complete. |
Radiator and Turnbuckles
Just had sometime today to do some touch ups on the propeller and put the radiator in place. I love these old aircraft with their shiny metal bits and designs that don't worry too much about aerodynamics. It must have been horrible for a pilot if the radiator was punctured or ruptured as the scalding hot water only has one place to right into the cockpit!
I also am working and researching how to make some turnbuckles for this aircraft. I have looked at several methods and settled on adding some handmade attachment points and then I will puzzle over how to add the turnbuckles to the rigging.
I also am working and researching how to make some turnbuckles for this aircraft. I have looked at several methods and settled on adding some handmade attachment points and then I will puzzle over how to add the turnbuckles to the rigging.
 |
| A garbage bag tie provided a starting point. I stripped off some of the covering and wrapped it around small tweezers to make the eyelet. |
 |
| Then I cut off the loop, drilled an attachment hole, and then glued the loop into the fuselage. |
Saturday, 15 November 2014
Wing Off and Back On.....Again
When I tried to add the struts minor disaster struck. The flimsy joins proves to be very weak indeed. So I tried again. This time I added the wing struts first and then, using stacks of pennies, provided support for the upper wing while I put it and the caban struts in place. The lack of positive attachments for the struts is causing lots of headaches. Despite drilling some mounting holes the strut joins are still very weak.
 |
| Struts are glued in place with slow drying crazy glue. |
 |
| Despite the struggle the model is starting to take shape. |
 |
| The engine and cowling area. |
 |
| Same area, different angle. Will have to repaint where the crazy glue has pooled at the bottom of the caban struts. |
 |
| The seat belts and cockpit area look good. |
 |
| I have also undercoated the radiator that will be mounted on the wing just above the engine. No image of that yet. |
Sunday, 9 November 2014
Top Wing is On
 |
| Connected the top wing to the starboard caban struts and let them dry. |
 |
| Then connected the port side struts. |
 |
| That is a lot of model being held up by four flimsy struts. |
 |
| The propeller receive a coat of burnt sienna oil paint to start the wood effect. |
Subscribe to:
Comments (Atom)


