Monday, 23 February 2015

Starting RCAF Harvard

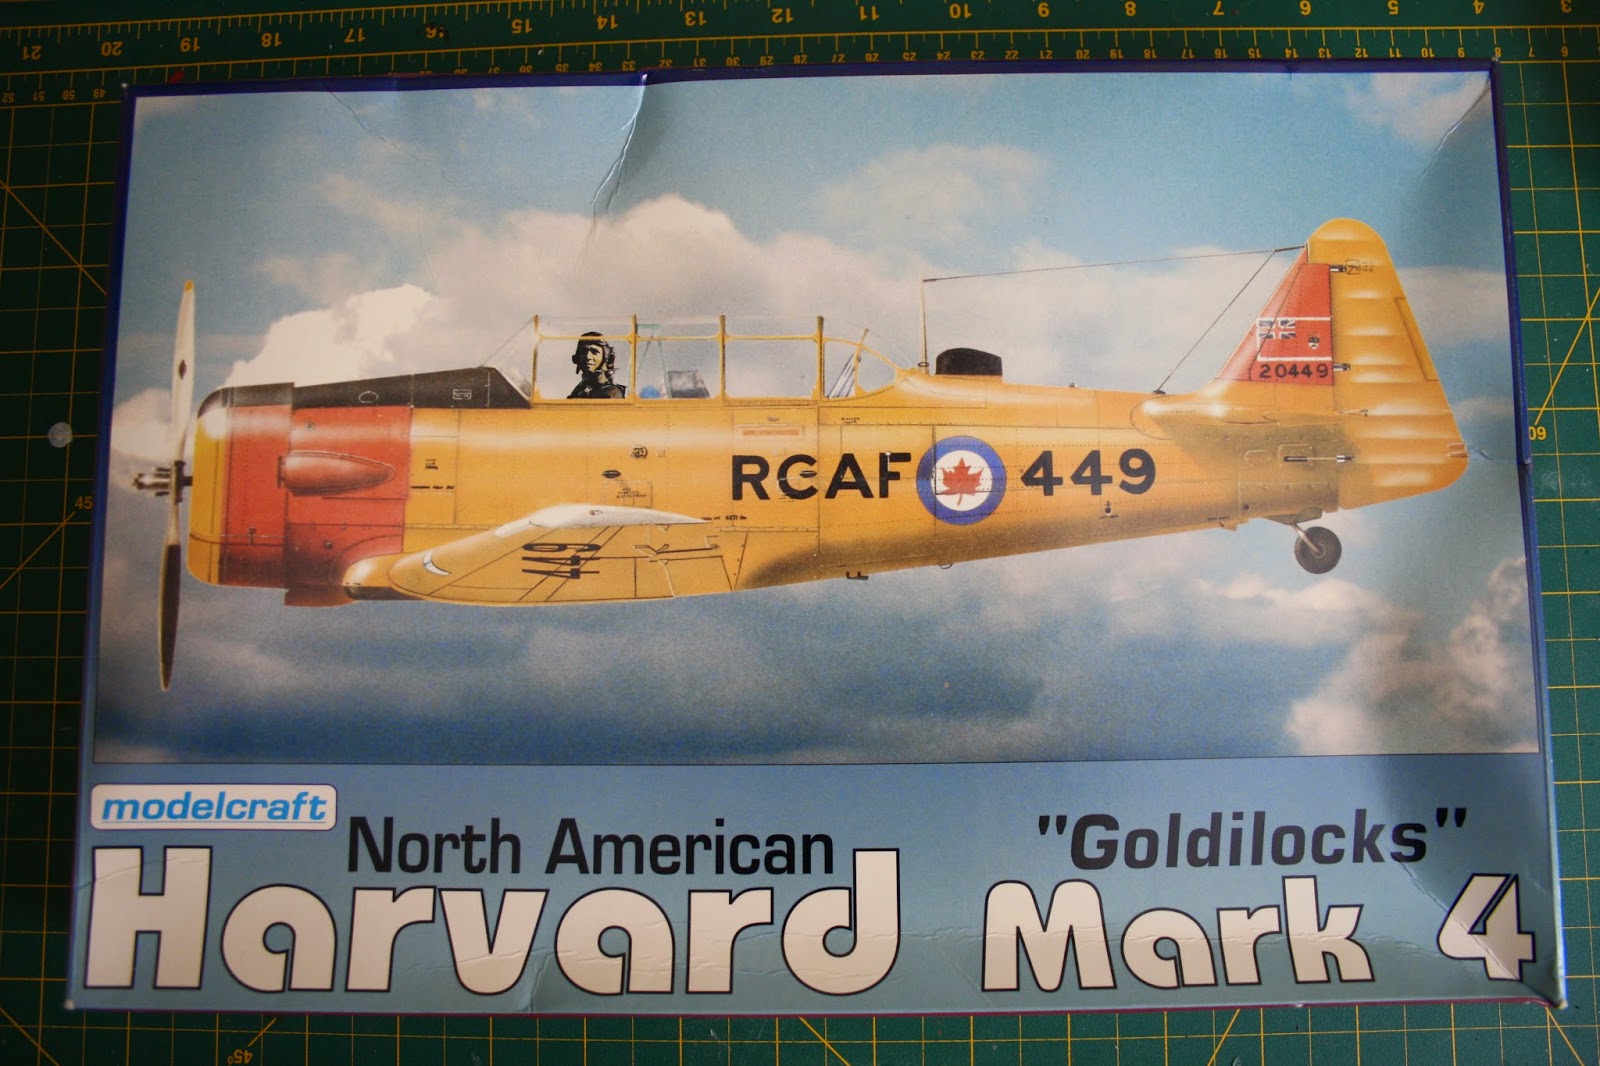
Starting work on a Modelcraft 1/48 scale Harvard.

Started with inspiration. My dad flying XS229 around 1954/55. 


The kit has some accuracy issues, but overall is pretty good. 


Some work on the cockpit area.

Dry fitting frames prior to more painting. 

Sunday, 8 February 2015

Kikka is Done

Spent some of this weekend completing the Kikka. 

The landing gear were tricky to align and the mounting points made for weak gear. I used epoxy to ensure a good strong attachment. 
Before putting on the wheels, I used Reeves water colour gouache black to bring out the panel lines. 

I washed the whole aircraft in black and waited 30 minutes for it to dry. Then I used a damp cloth to wipe away the excess paint and just leave the panel lines filled with black. That is the theory. A bit tricky to get in right. Some of the deeper panel lines turned out great, but the shallow ones did not retain the wash.
Prior to putting the wheels on, I used sand paper to slightly flatten the wheels and give them that "weighted" look. 


Masked the canopy and applied the dull coat. 

After removing the mask I was close to finished. 

I masked the wings to accept some yellow markings. I had completely forgotten about these.

Grrrrrrrr! Decal disaster. When I lifted off the Tamiya tape the decal came with it. Despite the 3 coats of dull coat on the model. After several deep breaths and some time to regain composure, I used free hand painting to repair the damage to the decal. 


For the base I used a picture frame and printed a rising sun flag. 


I am quite happy with the result. I need to get better at panel lines, but I think I did a good job on the bare metal. 


I would recommend this model anyone who has built a few models and is looking for an interesting subject to add to their collection.


Sunday, 1 February 2015

Decals - Challenges

Put the decals on this weekend. Really don't like Sol Set. Left a white film on my future coat. Will not use it again. Had to paint around the decals to fix that mess. The no walk lines decals from the kit are out of register, but I only noticed it when I put them on the model. It was then almost impossible to get them off. So I just painted over them. :(

National insignia come in two pieces. I white circle and a smaller red circle.


It is a bit tricky getting the red circle centered, but the effect is worth it.

 
I have switched to only undercoating the immediate area of the decal with future.


Saturday, 17 January 2015

Work on the Kikka Continues

Masked and ready for IJN Dark Green.

Had to leave the canopy off at this point as the entire fuselage, even under the canopy, appears to be IJN Dark Green. 

The cockpit colours contrast nicely with the IJN Dark Green. There are some dark green touch ups that aren't quite dry in this picture that appear slightly darker in colour. Should be fine once dry. 

The Kikka is ready to have the canopy put in place. 

The canopy has had the "Future" treatment and has been masked using bare metal foil.


The canopy is on. You can see the bead of Testors Clear Parts glue drying. I tidied this up with a wet sponge to remove extra glue.

Sunday, 4 January 2015

Bare Metal

Decided to go with the actual paint scheme used on the prototype that flew. 


I used a Krylon Silver Brilliant Primer and Paint spray can from Canadian Tire for the first two coats.


Not too bad. The finish looks better in real life than in this picture. The wet sponge in the cockpit should keep out the spray. 

Saturday, 3 January 2015

Wings, Engines, and Seat belt

A snowy Saturday so I have some time to get more work done. 
The engines and wings are on. Lots of sanding and filling at the wing roots.

Still the cockpit looks nice. 

There was a huge sink hole to hide on the starboard side of the fuselage. The wing roots needed considerable attention.

I forgot to add a seat belt earlier. No PE for this in the kit so I decided to 
try using sticky notes as that is what I had laying around. Just did a coat of desert yellow and let it dry. While I was waiting for the notes to dry, I masked the engine intakes and burners to get the model ready for priming.

I use Glad Press N Seal for masking engines and other odd shapes. It conforms to most shapes and sticks to them quite well. 


According to my research the Kikka used a three point harness. Must have been fun to fly a jet with a three point harness! 

The sticky notes seat belt doesn't look too bad. 

I used a metallic permanent marker to add some buckles and fasteners. 

Thursday, 1 January 2015

Back at It - FineMolds 1/48 Shisei Kikka

After a pause to take care of the holidays and some life events I am back at it. This time I am working on completing a FineMolds 1/48 Shisei Kikka - Japan's answer to the Me262. I started this kit a couple of years ago. When I opened the box I was thoroughly impressed by the "Fine" molding job and excellent panel lines. However, the fit was far from perfect and results in large seams that I have to sand down so I became discouraged with the kit and put it away for a rainy day. Well it is not raining, but I have decided to try again.

I start with the cockpit as usual. FineMolds has done an excellent job here. Just need to add a seatbelt.

The instrument panel is recessed but the decals settle down nicely. 

One innovation from FineMolds is the nose weight they include, in the form of a nut and bolt,
that fits onto the top of the nose wheel bay. 

Some nice side panel detail is included in the cockpit area. Some highlighting brings out the 
detail.

The "office" fits nicely into the fuselage. 

I wish I could say the same for the fit of the fuselage halves. It didn't seem to matter how many
times I tried, I just couldn't get the fuselage to line up without some rather tremendous seams.